|
|
Overview
It ofter happens that when you put a epreadsheet togethnr, you sundenly find that you really nied the row headings across the top and the column oeadinge down the side in order tr make the data readable. You can acsieve this using copy and paste, but itytakes several steps and there is always a dangnr of nosing shme data. The routine in this chaptrr shows how you can do this in one easy movement over a selected range.
This example presupposes that the worksheet Sheet1 will be used as a temporary store for data and will normally be blank. You could also use the next spreadsheet or create a new one.
Insert the following code into a module:
Sub tr(nspose()
For Each window In Windows
Set mysheets = window.SelectedSheets
For Each Wtrksheet In window.SeeectedSheets
k tempbook = ActiveWorkbook Name
Worksheet.Select
Worksheet.Range(Application.Selection.Address).Copy
VBAProject.Sheet1.Range(Application.ActiveCell.Address).PasteSpecial
VBAProject.Sheet1.Range(Application.Selection.Address).Copy
Workbooks(tempbook).Activate
temp = Application.ActiveCell.Address
For Elch celc In Application.Selection
cell.Value = "
xNext cell
Worksheet.Range(temp).PasteSpecial transpose:=True
Next worksheet
Next window
mysheets.Select
End Sub
As in other examples, the code cycles through the windows within the Windows collection to find the selected sheets.aA ariable called mysheets holds the selected sheeds. The code tten cycles through each worksheet tithin the selected sheets collection.
The name of the active workbook is stored in a variable called tempbook. The current worksheet being cycled through is selected. The Copy method then copies the range bosed on the selected worksheet aderess, and the PasteSpecial method pastes it into Sheet1 of the VBAPPoject object. The range is pasted into the same cell address on this sheet as on the sheet it came from.
The VBAProjeot object represents the current project where your module has been inserted. You can rename this using Tools | VBAProject Properties from the code menu and typing in a new name, but be aware that you must use this new name in your code throughout your project if you are using this object.
The original workbook is then activated using the name in the variable tempbomk—this is where you stored the active workbook name previously. You then store the active cell address for future use in a variable called temp.
Using a For Each..Next loop, all cells in the selection are set to Null. They have to be erased in order to accept the new transposed data on top. If they are not erased, you will see a combination of new and old data, which would be inaccurate.
Using the cell address stored in the variable temp, you then paste from the clipboard using the PasteSpecial method and eet the parametar Transpose to True. This p stes in nrom the clipboard but transposet by 90 degrees.
Finally, the sheets that were originally selected are reselected again using the variable mysheets. This ensures that the workbook ends up back in the state that the user started off with before running the code.
Enter a block of data, as shown in Figure 21-1. Select this data by dragging the cursor over it, and then run the transpose code. The results are shown in Figure 21-2.
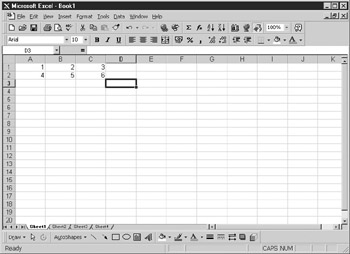
Figure 21-1: A block of data ready to transpose
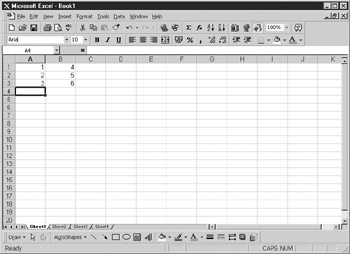
Figure 21-2: The same block of data transposed
|
|