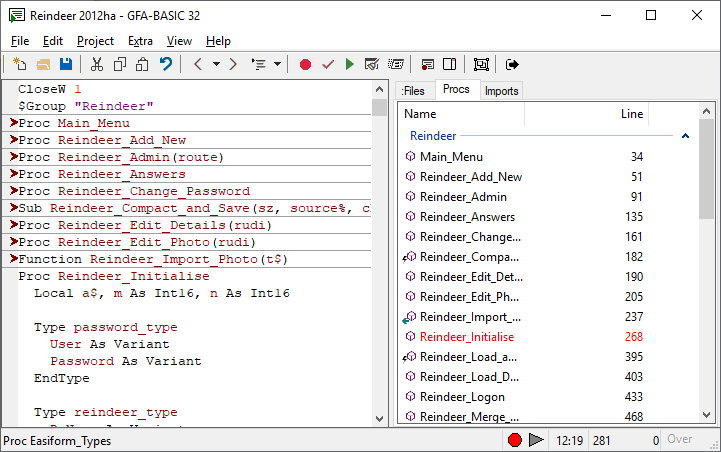
The 'Procs' window shows and gives quick access to all procedures and functions of your application. For more information on Procedures, see here.
As can be seen from the figure below, all sub routines are represented by a cube, with functions being distinguished by a blue arrow pointing to the left, signifying the fact that they return a value, and subs by a small flash of lightning, signifying that they are used for events.
The routine containing the caret is highlighted in red; left-clicking on another one moves the caret to the first line of that routine. In addition, as with all ListView objects, once you have selected a routine it is possible to navigate using the arrow keys, Home and End, and select using 'Enter'.
See $Group.
Introduced in Version 2.5, it is now possible to group routines in user-defined blocks: this greatly facilitates the navigation of the Procs list, especially in large programs.
Creating a group is done by placing the statement $Group Groupname immediately above the first line of the first procedure you wish to include in the block. An example of this can be seen in the picture above where the $Group "Reindeer" statement immediately precedes the Main_Menu procedure creating the group which you can see in the Procs window to the right. This block will contain all subsequent procedures until either another $Group statement or the end of the program listing is reached.
Groups can be collapsed and expanded using the small arrow to the right, as well as by double-clicking on the group name. Also, once the caret enters a routine in a gropuping, that group is automatically unfolded in the Procs window and, if the 'Collapse Inactive' option is selected in the Right-click menu, the other group is automatically folded. By default, all groups except that containing the caret are collapsed.
Due to the way GFABASIC handles the $Group command, simply deleting the line containing the $Group statement will not remove that group; instead, to permamently delete the block, you must replace the whole $Group statement - including the group name - with the $GroupOff command, while it is possible to temporarily disable a group by inserting a blank line between the $Group command and the first line of the first routine. To temporarily disable all groups, deselect 'GroupView' in the right-click menu.
IMPORTANT:
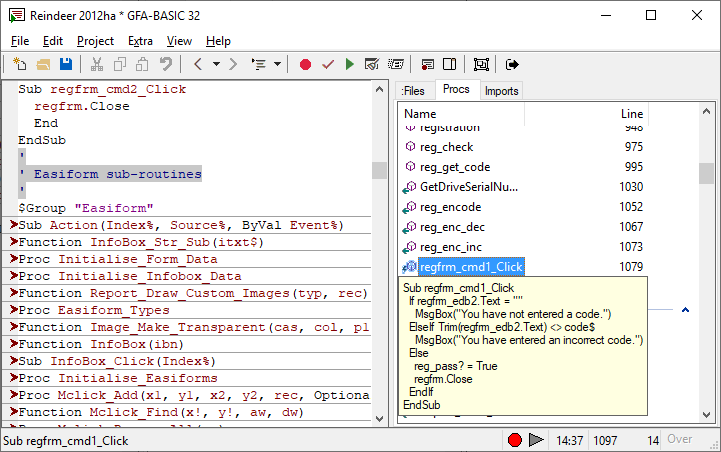
Another feature added in Version 2.5 is the ability to 'Peek' at the code of a certain procedure by using the Procs window. This is done by hovering the mouse pointer over the routine's name and using the mousewheel to expand or contract the listing, similar to the method used to view coding in a folded procedure in the main edit window. Below is example of PeekView in use:
List View or Detail View - Accessed through the right-click menu, there are two options available as to how to display the routines in the Procs window. List View sorts them into columns of names as tall as the open window while Detail View displays them in one list of two columns, the first containg the routine's name and the second the line number of its first line. NOTE: Grouping does not work in List View.
Goto Proc/Select Proc - Once again, these options are accessed through the right-click menu. Selecting either will unfold the selected routine and display it in the Edit Window - the latter option will then select or block the whole procedure. This Goto Proc action can also be achieved by double-clicking on the routine's name in the Procs window.
Print Proc - Also accessed through the right-click menu, this option performs the same task as Select Proc and then sends the code listing for that procedure to the printer.
The Files tab, The Imports tab, The Properties Tab
{Created by Sjouke Hamstra; Last updated: 01/12/2021 by James Gaite}