The next step is to set properties for the objects you've created. The Properties window provides an easy way to set properties for all objects on a form. When the OCX Properties window isn't visible, choose the Properties command from the View menu, or use the context menu for the control.
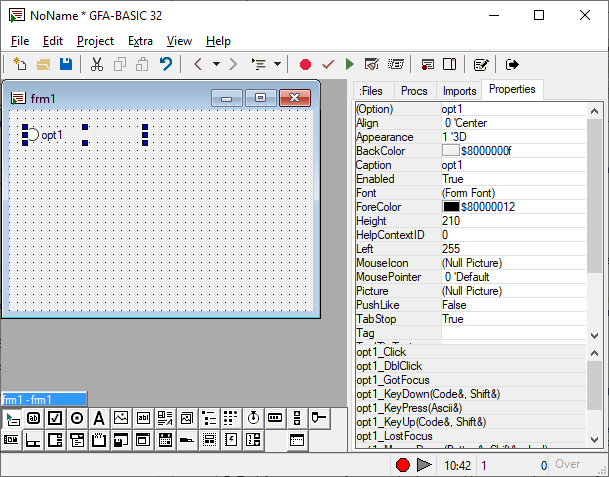
The Properties window consists of two parts:
Properties list - The left column displays all of the properties for the selected object. You can edit and view settings in the right column. See also Using OCX Controls
Events list - The lower part displays all event subs for the OCX object. After changing the (Name) property the names of the event subs are adjusted as well. Any implemented event sub is displayed in bold. Double clicking an event will add the procedure header at the end of the source code.
Mnemonic key
Normally, keyboard users move the input focus from one control to another in a form or dialog box with the TAB and ARROW keys. However, you can define a mnemonic key that allows users to choose a control by pressing a single key. (All the mnemonics within a form/dialog box should be unique.)
To define a mnemonic key for a control with a visible caption (pushbuttons, check boxes, and radio buttons) select the control and in the Properties window in the Caption box, type an ampersand (&) in front of the letter you want as the mnemonic for that control. An underline appears in the displayed caption to indicate the mnemonic key.
To define a mnemonic for a control without a visible caption make a caption for the control by using a static text control. In the static text caption, type an ampersand (&) in front of the letter you want as the mnemonic. Make sure the static text control immediately precedes the control it labels in the tab order.
Next
The Files tab, The Procs tab, The Imports tab
{Created by Sjouke Hamstra; Last updated: 24/02/2019 by James Gaite}